Shooting Time Lapse Photography: A Comprehensive Guide for Photographers

Shooting time lapse photography is a unique and engaging way to showcase the passage of time in a visually stunning format. In this article, we will explore everything you need to know about capturing immaculate time lapse sequences that can enhance your portfolio and potentially elevate your business in the photography realm. Whether you're a seasoned photographer or a newcomer, this guide aims to provide you with valuable insights and practical tips.
Understanding Time Lapse Photography
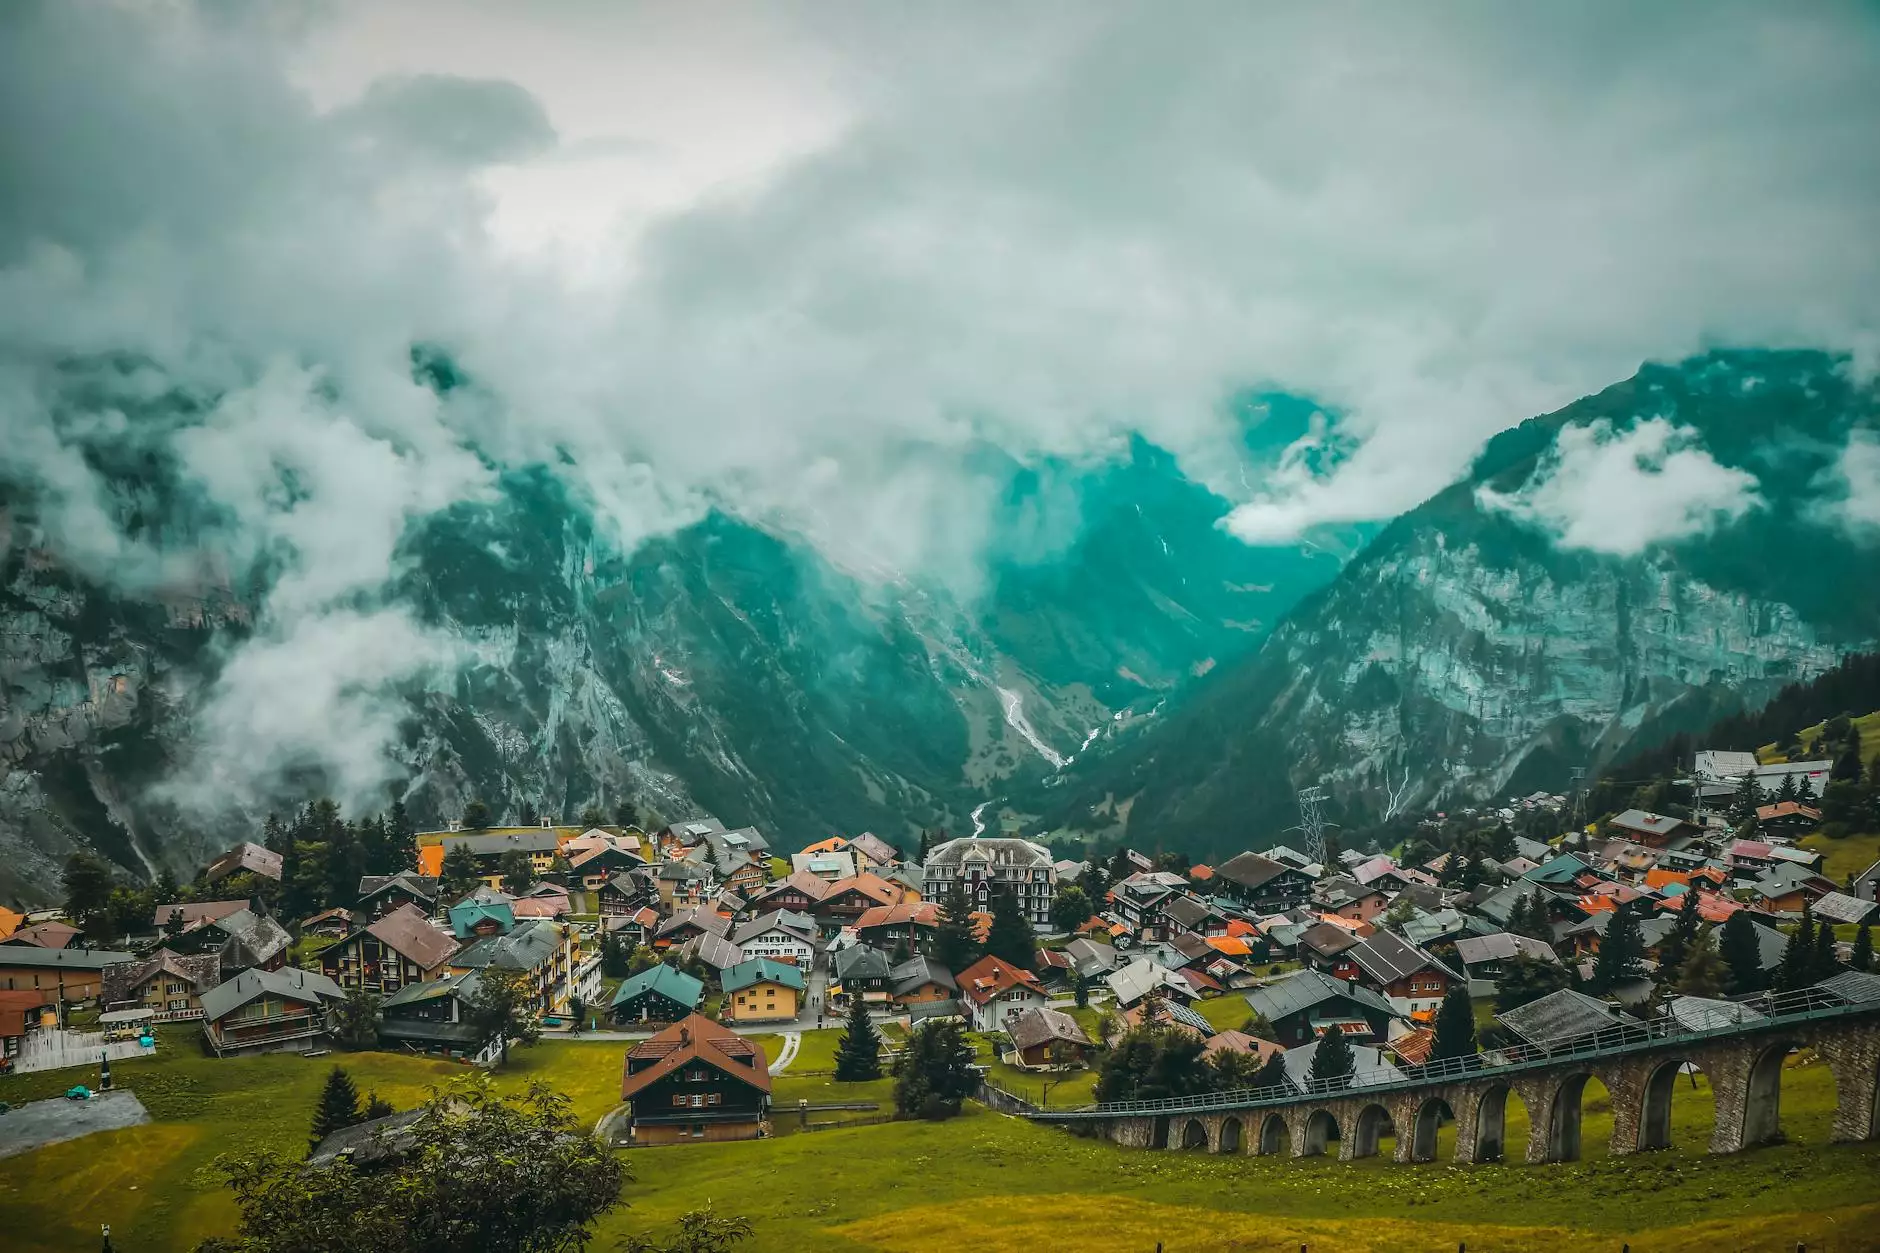
Time lapse photography is a technique that involves capturing a series of images at set intervals over a period of time, which are then played back at a faster frame rate. This results in the illusion of time moving quickly, allowing viewers to witness changes in a scene that might otherwise be imperceptible. The technique is widely used in various fields, including:
- Nature documentaries
- Real estate promotions
- Cityscapes
- Events and celebrations
By mastering this photographic style, you not only enhance your skill set but also attract a broader client base as more businesses recognize the value of innovative and compelling visual content.
Benefits of Shooting Time Lapse Photography for Your Business
Incorporating time lapse photography into your offerings can bring numerous benefits to your photography business:
- Attracts Attention: Time lapse videos are eye-catching and unique, making them more likely to be shared on social media platforms.
- Enhances Storytelling: This technique adds depth to stories about businesses, places, or events, making your work more relatable.
- Commercial Applications: Businesses, particularly in real estate and tourism, are increasingly seeking time lapse videos to market their properties or attractions.
- Expands Portfolio: It allows you to diversify your portfolio and showcase different styles of photography.
Key Equipment for Time Lapse Photography
To effectively shoot time lapse photographs, you need the right equipment. Here are some essentials that will elevate your results:
Cameras
While you can use a range of cameras, a DSLR or mirrorless camera is recommended for its superior image quality and control options. Some popular models include:
- Canon EOS R5
- Nikon Z6 II
- Sony A7 III
Tripods
A sturdy tripod is crucial for keeping your camera stable over long periods. Consider investing in a high-quality tripod that can support the weight of your camera.
Intervalometer
This device allows you to set the intervals at which your camera will take photos. Some cameras have built-in intervalometers, while others require an external one.
Zoom Lens
A zoom lens can be beneficial for capturing distant shots without compromising quality, especially in nature scenes or vast landscapes.
Getting Started: Step-by-Step Process
Now that you have the right equipment, let's dive into how you can start shooting time lapse photography effectively.
1. Choose Your Subject
Pick a subject that you think would look fascinating in a time lapse. Common options include:
- Sunrise/Sunset: Capture the changing colors of the sky.
- Cloud Movements: Show how clouds shift and shape the landscape.
- Flower Blooming: Document the process of a flower blooming.
- Construction Projects: Highlight the progress of building work over time.
2. Plan Your Shoot
Planning is key for a successful time lapse shoot. Take into account:
- Location: Ensure your location is accessible and safe.
- Weather Conditions: Favorable weather can significantly enhance your footage.
- Time of Day: Certain times provide better lighting for your subject.
3. Set Up Your Equipment
Once you arrive at your location, set up your camera on the tripod and ensure it’s level. Securely attach the intervalometer if you’re using one.
4. Camera Settings
Setting your camera correctly is vital for achieving quality images. Consider the following settings:
- ISO: Keep it low to reduce noise.
- Aperture: Use a narrow aperture (high f-stop) for deeper depth of field.
- Shutter Speed: Adjust according to the movement of your subject.
5. Capture the Images
Begin capturing images at the intervals you’ve selected. Common intervals range from a few seconds to several minutes, depending on how long you’re shooting and the speed of the action.
6. Post-Processing
After capturing your images, import them into editing software such as Adobe Lightroom or After Effects. Here’s what you might do:
- Adjust Colors: Enhance colors to make the footage pop.
- Stitch Images Together: Combine images into a single video file.
- Add Music or Narration: Enhance the viewer's experience through audio.
Best Practices for Shooting Time Lapse Photography
To achieve the best results, follow these practices:
- Keep It Simple: Start with straightforward scenes before attempting complex subjects.
- Minimize Changes: Reduced changes in lighting and angles help maintain consistency.
- Test Before the Real Shoot: Do a trial run to ensure settings are correct.
- Be Patient: Good time lapses often require hours of shooting.
Where to Use Time Lapse Videos?
After generating captivating time lapse videos, consider where to showcase them effectively:
- Personal Portfolio: Create a dedicated section in your portfolio for time lapse work.
- Social Media: Share snippets on platforms like Instagram, Facebook, and YouTube.
- Client Presentations: Utilize time lapse to display projects or indulge potential clients.
Conclusion: Elevate Your Photography Business with Time Lapse
Shooting time lapse photography can significantly elevate your skills and business presence in the competitive photography industry. By mastering this art, you'll provide clients with visually stunning content that captivates audiences. Don't hesitate to explore this exciting technique and integrate it into your offerings to stay ahead and keep your portfolio diverse and appealing.
For more resources and equipment related to photography and time lapse shooting, visit bonomotion.com, your reliable partner in photography.